OBS Studio is a popular tool among streamers for its flexibility in managing live broadcasts. One of its key features is Studio Mode, which allows streamers to prepare and rearrange scenes without their audience seeing these changes in real time. This functionality is crucial for maintaining a smooth and professional streaming experience.
How Studio Mode Works
In OBS Studio, scenes and sources are the building blocks of a stream layout. Streamers can add various elements such as games, webcams, and media to these scenes. Common scene names include Welcome, Desktop, Game, Break, and End. It is important to note that all scenes and sources are global within OBS Studio, meaning that each source must have a unique name. For instance, a source named Game cannot share the same name with a scene named Game, which helps avoid confusion during the streaming process.
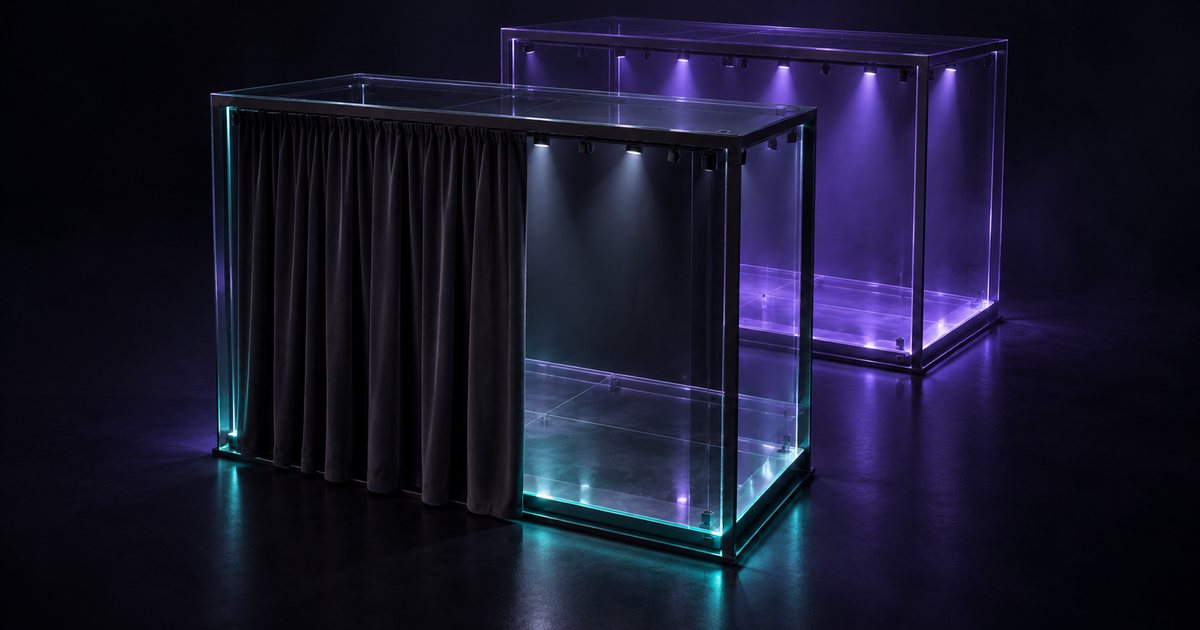
Studio Mode operates by displaying two views: the live scene and the edit scene. Streamers can make adjustments in the edit scene while the live scene continues to broadcast. This allows for a seamless transition when the streamer is ready to make changes visible to the audience. Once the adjustments are complete, the streamer can press the Transition button to switch from the edit scene to the live scene, making the changes visible to viewers without any interruptions.
Importance of Testing Before Going Live
The OBS Studio overview guide emphasizes the importance of testing all elements of a stream before the first live broadcast. This includes checking the functionality of scenes, sources, and transitions to ensure everything operates smoothly. Streamers are encouraged to conduct thorough tests to identify any potential issues that could arise during a live stream. By doing so, they can mitigate the risk of technical difficulties that may disrupt the viewing experience.